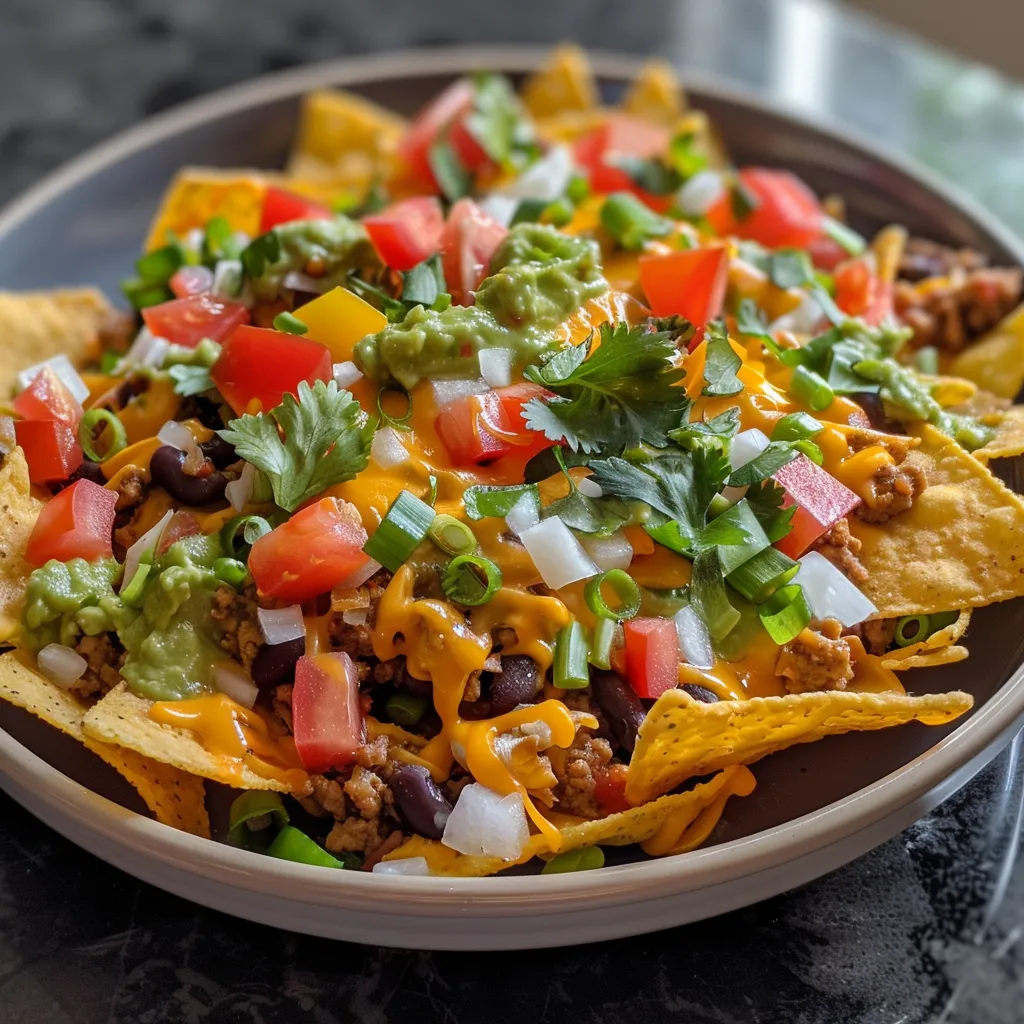
Are you ready to elevate your lunch game with a fun and delicious twist? I absolutely love creating DIY nachos for a portable meal that’s not only tasty but also packed with fresh ingredients! Whether you’re at home, at work, or on the go, these nachos are the perfect solution for a quick and satisfying meal. Plus, they’re a fantastic option for Cold Lunch Ideas For Kids too! Let’s dive into this easy recipe that will make your taste buds dance!
Why You’ll Love This Recipe
- Quick and easy to prepare, making it perfect for busy days.
- Customizable with your favorite toppings and proteins.
- Great for meal prep and can be enjoyed cold or warm.
- Perfect for both adults and kids, making it a family-friendly option.
- Healthy ingredients that can be tailored to fit any dietary needs.
Ingredients
To whip up these delightful DIY nachos, you’ll need the following ingredients:
- 1 serving tortilla chips
- 1/4 cup protein (black beans, shredded chicken, ground beef)
- 2 tablespoons shredded cheese
- 1/2 cup vegetables (cherry tomatoes, bell peppers, carrots, lettuce, etc.)
- 2 tablespoons guacamole, salsa, or sour cream
- 1 small apple or fruit of choice
Full ingredient list with measurements is provided in the printable recipe card below.
How to Make the Recipe
Making these DIY nachos is as easy as 1-2-3! Here’s how:
- Start by packing all the components in separate compartments of a bento-style lunch box. This keeps everything fresh and prevents sogginess!
- Layer your tortilla chips in one section, followed by your choice of protein in another. I love using shredded chicken for a hearty option!
- Add your shredded cheese and a colorful mix of vegetables to the next compartments. Cherry tomatoes and bell peppers add a lovely crunch!
- Finally, don’t forget to include your favorite dip—guacamole, salsa, or sour cream—in a small container. And for a sweet finish, pack a small apple or your favorite fruit!
Pro Tips for Making the Recipe
Here are some of my favorite tips to ensure your DIY nachos are a hit:
- For a fun twist, try using flavored tortilla chips like nacho cheese or spicy jalapeño.
- Mix and match your proteins! Ground beef is a classic choice, but black beans are a great vegetarian option.
- Prep your ingredients the night before for a quick grab-and-go lunch the next day.
- Consider adding some fresh herbs like cilantro or green onions for an extra burst of flavor.
- If you’re looking for quick lunch ideas for kids, let them customize their own nachos with their favorite toppings!
How to Serve
These DIY nachos are incredibly versatile! You can serve them as a fun lunch option or even as a snack during movie night. Here are some serving suggestions:
- Pair with a refreshing drink like iced tea or lemonade for a complete meal.
- Serve alongside a side of fruit for a balanced lunch.
- For a family gathering, set up a nacho bar where everyone can build their own nachos!
- These nachos also make a great addition to a picnic or potluck.
Make Ahead and Storage
One of the best things about these DIY nachos is that they can be made ahead of time! Here’s how to store them:
- Assemble your nachos in a bento box and store in the refrigerator for up to 2 days.
- Keep the chips separate from the wet ingredients to maintain their crunch.
- If you have leftovers, store them in an airtight container, but be aware that the chips may get soggy.
- For a quick family dinner, you can also reheat the nachos in the oven for a few minutes to enjoy them warm!
Now that you have this delightful recipe in your back pocket, you can enjoy a tasty and portable meal anytime! If you’re looking for more easy lunch ideas for kids, check out my Beef Cheesy Rollups or Ground Beef Stroganoff for more delicious options. And if you’re in the mood for something savory, don’t miss my Mongolian Beef recipe! Happy cooking!

Cold Lunch Ideas - DIY Nachos
Ingredients
Method
- Pack all components separately in a bento-style lunch box.

